3D laser scanners are real Gamechangers for retrofit projects. They provide perfect planning, engineering and documentation data of entire industrial halls and thus facilitate the retrofitting and modernisation of existing plants. Thanks to the cooperation with the company Mensch und Maschine (MuM), this innovative technology has now also been implemented for AERZEN process gas blowers and compressors.
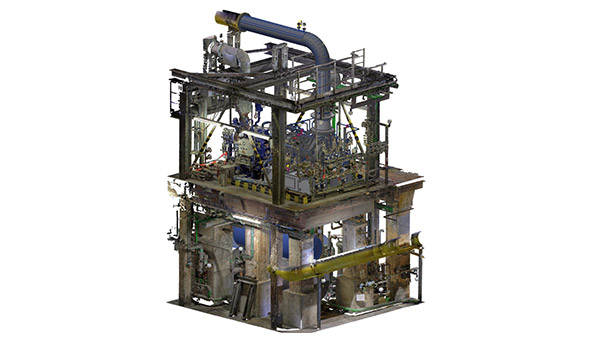
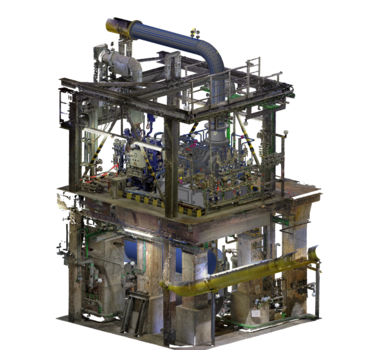
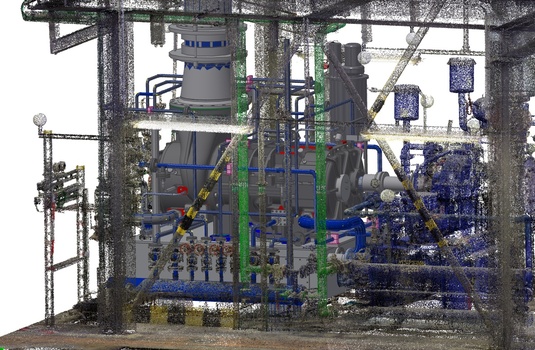
If old blower and compressor stages within a package are to be replaced by new, more efficient stages, design engineers need detailed information about the specific conditions on site. 3D laser scanners are a fast and precise method for accurate measuring of installed process gas packages in production halls and production lines. Using ultra-modern scanning technology, the plant and its surroundings are captured from various perspectives without any gaps, generating a complete 3D representation in the highest resolution and with minimal tolerance. The result is a 3D point cloud, which can be immediately transferred to all common CAD programmes and can be used as design environment (e.g. in Autodesk Inventor).
STATE-OF-THE-ART TECHNOLOGY FOR PRECISE MEASUREMENT
3D laser scanning takes retrofit projects or replacement projects of old AERZEN process gas compressors to a new level and supports risk minimisation with regard to project goals and budgets. Future fields of application are also in the area of installation space determination for greenfield projects and various augmented reality applications.
For customers, the use of 3D laser scanning technology means unbeatable advantages. You receive the actual “as built” condition in original colour to correct previous drawings, schemes or plans and thus have absolute planning security. The result: accelerated project planning and execution, faster installation processes, reduced downtime/shutdowns, lower service and installation costs, and increased reusability of dismantled parts.
PERFECT PLANNING AND DOCUMENTATION DATA
Thanks to the 3D technology from AERZEN and MuM, for the first time, designers no longer work in an empty room when retrofitting and modernising existing systems, but directly in the customer's original environment with all actual dimensions and full transparency - even through walls and objects or across floors. The so-called collision check is carried out completely digitally within the point cloud as part of the engineering for all scanned and later constructed objects. Assembly collisions can be detected in advance and bypassed. In addition, the handling of assemblies to be dismantled is facilitated and the installation of new equipment or rebuilding is easier and safer. Planned assembly and downtimes can be shortened and processes can be optimised.
ONCE IN, ALL IN
The creation of the three-dimensional plant model takes one to two weeks, depending on the size of the project. In the best case, on-site inspections and measurements become obsolete, which leads to a significant reduction in effort and costs. Once the 3D point cloud is available, it is also possible to immerse oneself in the digital environment via VR glasses and to experience and assess the local conditions from a distance. By the way: the scan result can be viewed via free software, additional tools for which a fee is charged are not required.
